# Creating a goal
To create the first goal:
- Click on "Goals" in the left menu of your personal account
- Click on the "Add" button
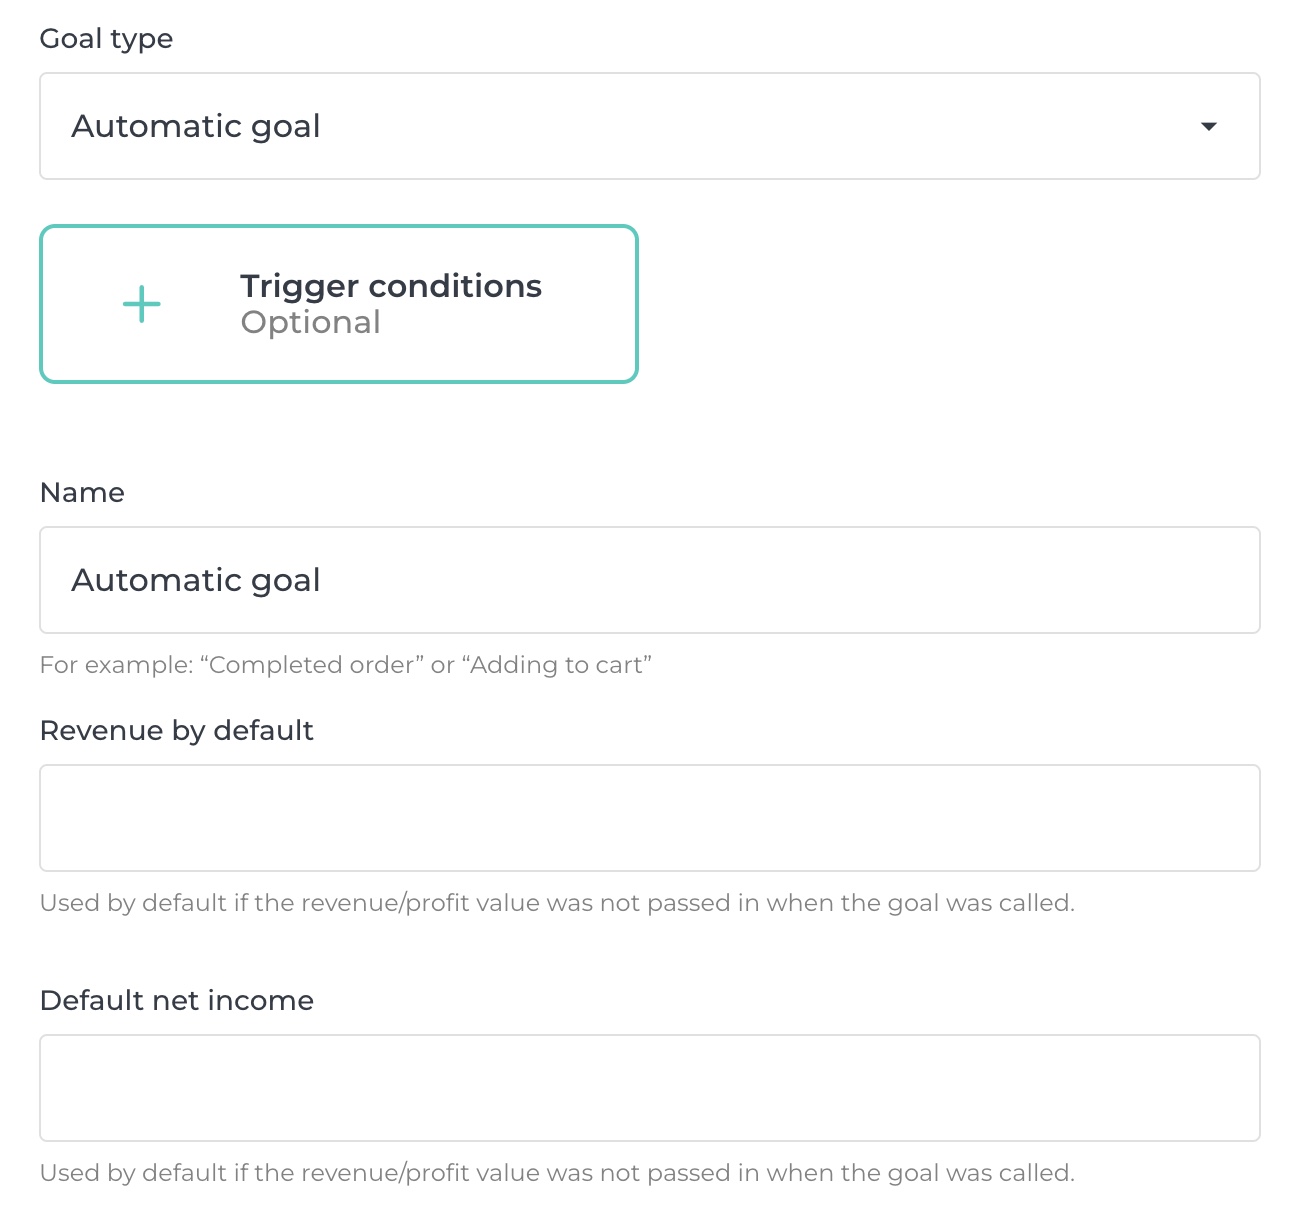
This will open a window to add a new goal:

Let's look at what each field is responsible for.
# Name
The goal name is for your convenience in working with it, for example, "Completed order" or "Visited viewing appointment page".
The goal name does not affect the system's logic and can be changed at any time.
# Goal type
# Automatic Goal
An automatic goal is one that triggers automatically when [display conditions]/guide/concepts/display-conditions.html)/ are met.
# Вызываемая вручную цель
Вызываемая вручную цель — это цель, достижение которой вы отслеживаете самостоятельно на стороне своего сайта.
При достижении этой цели вы должны вызвать специальный JS-код, например:
# Manually triggered goal
A manually triggered goal is one whose achievement you track manually on your website.
When this goal is achieved, you need to call a special JS code, for example:
/* Completed registration */

impact('reachGoal', '<id goals>')

/* In earlier versions, you could do it like this, and it will still work */
window.SustainImpact.reachGoal('<id цели>');
The goal ID will be automatically inserted into the script on the goal creation/edit page. Simply copy and paste this code into the appropriate place on your website.
# DataLayer goal (Data container)
This goal type is associated with the JavaScript variable dataLayer, commonly used in analytics systems like Google Analytics or Yandex Metrica.
If your website is set up to pass various analytical events through window.dataLayer, you can easily configure a goal based on existing events in your system. Choose the event type you plan to use as a goal.
Here you can choose between two strategies for tracking event data:
- ECOM - Sending data about products and actions (e.g., if Commerce is connected in Yandex Metrica)
- EVENT - Any analytical events recorded in dataLayer
# ECOM
In Ecommerce each product is an object on which specific actions are performed. For example, viewing a full product description or adding to cart:
window.dataLayer.push({
  "ecommerce": {
    "currencyCode": "RUB",
    "detail": {
      "products": [
        {
          "id": "P15432",
          "name": "T-shirt",
          "price": 477.6
        }
      ]
    }
  }
});
# EVENT
If you choose EVENT type, you can subscribe to any specified event that comes into your dataLayer container, such as user login event:
window.dataLayer.push({
  "event": "login",
  "event_data": {
    "user_name": "Alex"
  }
}
# Activity Goal
In many projects, it's challenging to achieve the necessary conversion levels to train the initial personalization model. In such cases, the "Activity" goal type is useful, triggering based on active user actions on the website.
Activity is tracked across various parameters:
- session time
- number of pages viewed
- number of goals achieved
- and more
You can specify different sensitivity levels for activity goals, affecting how much needs to be done to trigger the activity goal:
- High (about 2% of traffic)
- Medium (about 5% of traffic)
- Low (about 10% of traffic)
# Click-to-Call Goal
This goal triggers when a user clicks on links like href="tel:XXXX", which open an application for calling the specified number.
# Click-to-Email Goal
This goal triggers when a user clicks on links like href="mailto:XXXX", which open an application for sending an email.
# Messenger Redirect Goal
This goal triggers when a user clicks on links for listed messengers:
- https://wa.me (WhatsApp)
- https://t.me (Telegram)
- https://viber.com (Viber)
# Social Network Redirect Goal
This goal triggers when a user clicks on links for listed social networks:
https://vk.com (Vkontakte)
https://linkedin.com (Linkedin)
https://fb.com, https://facebook.com (Facebook)
Subdomains like https://uk.linkedin.com are also considered.
Additionally, you can transmit information about achieving any type of goal through an API call.